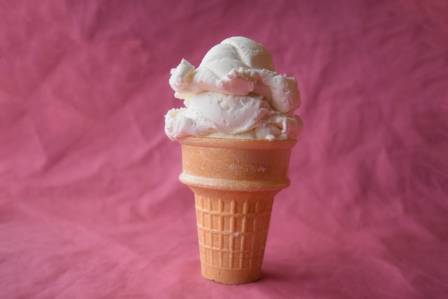
Crafting frozen desserts in your own kitchen is a nostalgic and rewarding summer tradition. Beyond the simple joy of the process, making ice cream at home allows for total creative control over flavors and textures. While the technique is straightforward, achieving that signature professional consistency—creamy yet firm—requires attention to detail. By applying these refined methods, you can elevate your homemade treats to gourmet standards.
Foundation and Ingredient Quality
The caliber of your equipment is the first step toward success. To achieve a smooth result, a reliable machine is essential. Models generally fall into two categories: those with a bowl that must be pre-frozen and those with built-in compressors. Double-insulated freezing bowls are popular for their efficiency, often churning a batch in as little as 20 minutes.
Equally important is the quality of your base. Because most recipes contain only a few components, every choice matters. Always opt for high-fat dairy; using skim or low-fat milk will result in an icy, thin texture rather than a rich one. Select premium chocolate, fresh spices, and high-quality extracts to ensure the flavors remain vibrant after freezing. If your recipe involves a cooked custard, using a digital thermometer is vital to reach the exact temperature needed for thickening without curdling the eggs.
Texture Mastery and Chilling Techniques
Texture is heavily influenced by the type of sweeteners used. Incorporating high-viscosity liquid sweeteners—such as glucose syrup, honey, or corn syrup—can create a chewier, professional mouthfeel. Be mindful that honey is sweeter than standard sugar, so adjustments may be needed to keep the flavor balanced.
Before the churning begins, the base must be thoroughly chilled. Even for non-custard recipes, starting with ingredients that are as cold as possible leads to a smoother finish. Utilizing stainless steel or glass mixing bowls can help conduct the cold and speed up the cooling process. Furthermore, the speed of freezing is your greatest ally against ice crystals. If using a removable bowl, ensure it has been in the freezer for at least 24 to 36 hours to guarantee it is solid to the core.
The Churning and Freezing Process
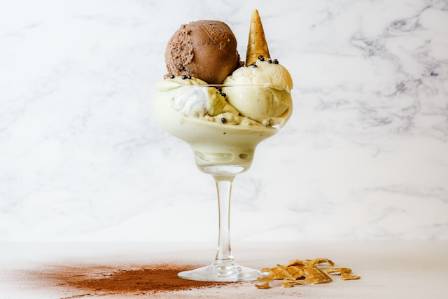
The defining characteristic of ice cream is air, introduced through the churning process. This aeration, known as "overrun," determines the density of the final product. While industrial ice creams often contain a high percentage of air, homemade versions tend to be denser and richer, mirroring premium store-bought brands.
When adding extra elements like nuts, candy, or fruit, timing is everything. To have flavors permeate the entire batch, add them at the start of the cycle. For distinct chunks, wait until the final minutes of churning. Ensure all mix-ins are chopped into small pieces to prevent them from interfering with the machine’s paddle.
Proper Serving and Storage Solutions
To maintain the stability of your dessert, storage must be airtight and freezer-safe. When transferring the soft ice cream to a container to firm up, pressing a layer of plastic wrap directly onto the surface can prevent ice crystals from forming on top.
When it is time to serve, a high-quality scoop makes a significant difference. Whether you prefer a traditional spring-release model or a heat-conducting scoop designed to glide through hard-frozen cream, a sturdy handle and comfortable grip are key. Proper storage and serving tools ensure that the hard work put into the base is preserved until the final bite.