The ability to produce 3D renders is no longer restricted to elite technical designers. Thanks to modern digital advancements, architects, product developers, and creative enthusiasts can all explore this field. The core objective of 3D rendering is to transform digital models into lifelike images or cinematic animations suitable for advertising, real estate, and immersive virtual environments. This guide explores the essential phases of generating professional-grade visuals.
Foundations and Software Selection
Before starting your first project, it is vital to understand the underlying concept. Rendering is essentially the mathematical translation of a three-dimensional scene into a two-dimensional format. During this process, software simulates physical properties such as light behavior, shadow casting, and material reflections to produce a realistic or stylized result.
The journey begins with selecting the right modeling software. Your choice should align with your specific industry and budget. For general animation and creative sculpting, Blender is a powerful, open-source option. Professionals in architecture and interior design frequently utilize specialized tools like Autodesk 3ds Max or SketchUp, while those focused on high-end motion graphics often turn to Cinema 4D.
Constructing the Digital Model
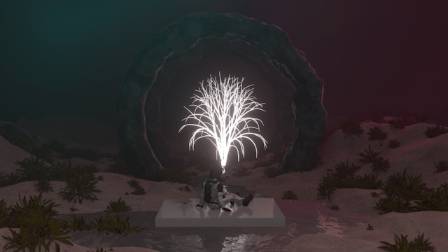
Once your software is ready, you must build the geometry of your scene. This usually starts with "primitives"—simple shapes like spheres and cubes—which are then sculpted and refined into complex structures. Accurate proportions and smooth edges are necessary for a believable final image.
After the geometry is finalized, the model requires "texturing." This step involves wrapping the 3D object in digital images, known as texture maps, to simulate real-world surfaces like brushed metal, polished wood, or soft fabrics. Technicians use UV mapping to ensure these textures align perfectly with the object's surface without distortion.
Scene Composition and Environmental Setup
A great render relies as much on cinematography as it does on modeling. Setting up your virtual scene involves three critical components:
-
Camera Placement: Just like a physical photographer, you must choose focal lengths, angles, and perspectives that highlight the model’s best features.
-
Illumination Strategy: Lighting defines the atmosphere. Using a "three-point lighting" setup—comprised of a primary key light, a secondary fill light for shadows, and a backlight for depth—is a standard method for achieving a professional look.
-
Environmental Context: You can build a custom background or use High Dynamic Range (HDR) images to provide realistic 360-degree reflections and lighting data.
Choosing an Engine and Executing the Render
The rendering engine is the specific software component that calculates the final pixels. Different engines offer different advantages; for example, V-Ray is renowned for its photorealistic architectural output, while Cycles is favored for its speed and integration within Blender. Real-time engines like Lumion are excellent for rapid landscape and architectural previews.
The actual rendering phase is when the computer processes all your data to create the final file. It is often wise to perform a "test render" at a lower resolution first to identify any errors in texture alignment or lighting before committing to a full-resolution, time-intensive final output.
Post-Production and Final Export
The process does not end when the computer finishes rendering. Most professional visuals undergo "post-production" in image-editing software like Adobe Photoshop. During this stage, artists perform color grading, adjust contrast, and add atmospheric effects such as lens flares or motion blur.
Once the image is polished, it is exported in a format appropriate for its destination. High-quality formats like TIFF are preferred for print, while PNG or JPEG are standard for digital and web use. By following these structured steps, you can bridge the gap between a simple digital concept and a captivating, realistic visual.