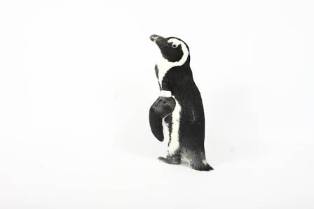
Penguins are an excellent subject for beginner watercolor artists. Their simple shapes, minimal color palette, and charming appeal make them ideal for practicing both wet-on-wet and wet-on-dry techniques. This guide will take you through creating playful penguins with no advanced skills needed.
Materials Needed
Watercolor paper
Watercolor paints
Round brushes: medium (size 6–8) and fine detail (size 2–3)
Water container for rinsing brushes
Optional: Washi tape for clean edges
Step‑by‑Step Instructions
Sketch the Shapes
Start with lightly painting simple ovals for the penguin bodies and smaller ovals for the heads. You can also try a figure‑8 shape.
Tip: Tilt the head or change the angle slightly for added character.
Prepare Your Colors
Mix a light gray wash for the body and a darker gray for the head and wings.
Paint the Body
Using a medium brush, fill the penguin body with light gray, leaving some areas white for the belly and face. While the paint is still wet, add darker gray along the edges where the wings and top of the head are. Don’t stress about precision—the shapes will gain personality with details later.
Add Details
Once the paint is dry, add the beak, feet, and eyes. Use simple lines for wings, short dashes for feet, and a small dash or triangle for the beak. Place tiny dots for eyes to suggest the penguin’s gaze. Let the shapes guide the direction each penguin faces.
Final Touches
Mix a little blue into your light gray wash and paint soft shadows around the penguins. Keep most of the paper white to suggest snow.

Tips for Beginners
Use wet-on-wet for gentle color transitions, and wet-on-dry for crisp edges.
Avoid overworking the paint; allow the water to create natural blends.
Try painting a few small penguins on one page to loosen up and build confidence.
This simple approach makes watercolor penguins fun and approachable, perfect for beginners exploring soft textures and playful shapes.